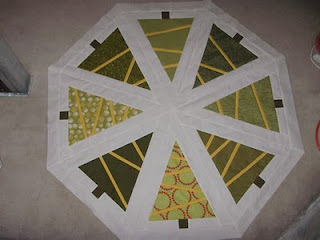
Western Washington Quilt Shop Hop
I went down to the Western Washington Quilt Shop Hop In June with two friends, Lawanda and Ross. Lawanda won a prize in one of the 4 stores we got to, and picked a magazine, Spring 2010 Quilts and More from Better Homes and Gardens, because she liked the quilt on the cover. Later when I was going through the magazine, I realized that the quilt on the cover is designed by Weeks Ringle and Bill Kerr, the authors of my favourite quilt book, the Modern Quilt Workshop.
Orange Variation
The quilt instructions are for a big queen size quilt, and I can never get ones that big quilted, so I halved all the dimensions and put together a quarter size quilt. The quilt is designed to use big size prints, so even if each of my blocks was quarter sized, I used big Kaffe Fasset prints anyway. I only used 4 patterned fabrics, 3 Kaffe Fasset, and the circle/dotted one that was actually designed for the Western Washington Quilt Shop Hop. I was "auditioning" solids for the narrow separators and started with the orange in the middle rows (analogous). Then I tried the green (triad), then the blue (complement). I actually like them all, so I used them all.
Blue Variation
Then I found the quilt sore on Saltspring Island when I was there for a weekend visiting, and bought a stack of blue Kaffe Fasset fat quarters. There was a bright pink Kona solid in the stack so I used that as the separator colour. I had 7 different prints so there's one of each in each row.
I really like white as the background, so trying a blue is a stretch for me.
I have another stack of 12 rows with white separators that I thought I'd try on a yellow background. I really like a blue and yellow combination - sort of French Provincial. I used a little bit of the yellow for the binding on the orange quilt.
Backs
I just can't leave the back of my quilts unpieced, so here's what I did on these two.
The blue back is another Ringle and Kerr design. The quilt on their site has 14 inch blocks, but I sized mine down to 8 inch blocks. I cut most of the left over fabric into 2 inch strips then sewed them together into a long strip. I sewed 4 inch white strips on both sides of the 2 inch strip, then cut it across into 8.5 inch squares. Fast and easy and not much planning, just let the coloured strips randomize themselves!
For the orange back, I used the left over fabric from the front. I added white to the selvage edges to make the fabric the width of the front. Then I sewed them together with a strip of colour between each. That looked too blah, so I sliced it vertically twice, rotated the centre piece 180 degrees, then sewed it back together with strips of colour between them again.


