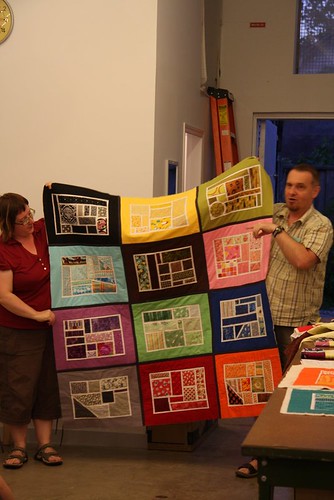
Some members of the VMQG are involved in a pot-holder exchange with the FVMQG (Fraser Valley Modern Quilt Guild (our sister group), so I've been working on mine over the weekend. Of the whole list of likes and dislikes of my partner, I chose to work with "Modern", and her favourite colours, "Lime" and "Orange".
If you are the one who said her favourite colours are Lime and Orange, stop reading now and wait till your mail arrives in December.
You'd think that I have lots of lime left over from my
Crazy Nine Patch Lattice quilt and the big
HST one, but nope, pretty much all used up. Here's what I finally found.
What is lime green anyways? I ended up with some scraps and pieces of green - lime, olive, chartreuse - all greens that are more on the yellow end of the colour wheel. I found several scraps with a dull orange so made some "mod mosaic" blocks at 10x10 inch square. The sashing is a very bright chartreuse that looks great.
I wanted something more traditional for the backs. I had bought a really cheap template for drunkard's path last month in Hamilton, so I tried it out and made the largest one available and it turned out fine, so I make a bunch more and put together a big orange circle for the backs.
With the left over green quarter circles from the backgrounds, I made smaller blocks and quickly made several coasters to loosen me up for the final go at the pot-holders. For the coasters, I didn't want to bother with a binding, so I did the turn inside out technique and then top stitched around the edge and did a quick double arc of stitching around the pieces.
Back to the pot-holders, I put the pot-holder quilt sandwich together - back, batting, insul-bright, top - then did some straight line quilting on each quarter of the blocks. It really shrunk with the quilting, so I squared it down to 9.5 inches, then sewed on the chartreuse binding. For these thick potholders, I used 2.5 inch binding, and found that sewing it exactly 1/4 inch from the edge worked out perfect for wrapping it around to the back. The other trick I tried is
not to iron the binding in half first. I just folded it over and kept all the raw edges together as I sewed it on. That way when I folded it around to the back, the inside edge wrap-around could be slightly less than the outside edge.
I put a loop up on a corner and then hand sewed the binding down. One last ironing and it's all ready to show off at the guild meeting, then into the mail.
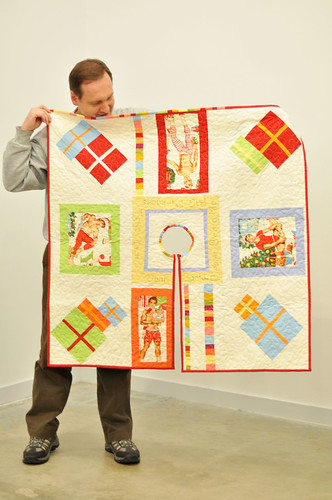
 I used the same red for the binding that was used in three of the picture mats.
 And I found some great plaid flannel for the back. Perfect for these outdoorsy girls. The birdwatching girl is actually wearing a plaid bikini!
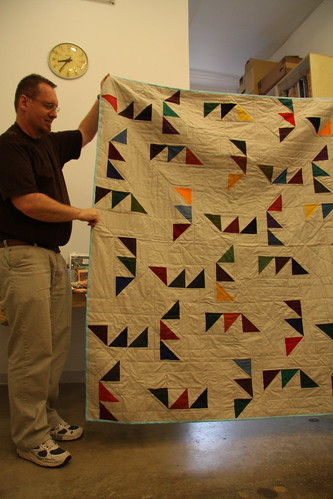
 The stippling is a big curvy stipple and the frames are just quilted with straight lines 1/4 in in from the edges.
 I took it into rehearsal on Thursday and the band members love it, so I think it'll be a hit and will hopefully get some high bids.